You capture a screenshot and every word looks sharp. Then you send it through a messaging app, paste it into a document, or upload it to a website. Suddenly the text is fuzzy, the image is enormous, or the recipient cannot read the detail you wanted to show.
The screenshot did not become unreliable by accident. Several systems may have changed it between capture and viewing: the operating system chose its pixel dimensions, an application resized it, a service compressed it, and the recipient displayed it at a different scale. Understanding those steps makes the problem surprisingly easy to prevent.
The short answer
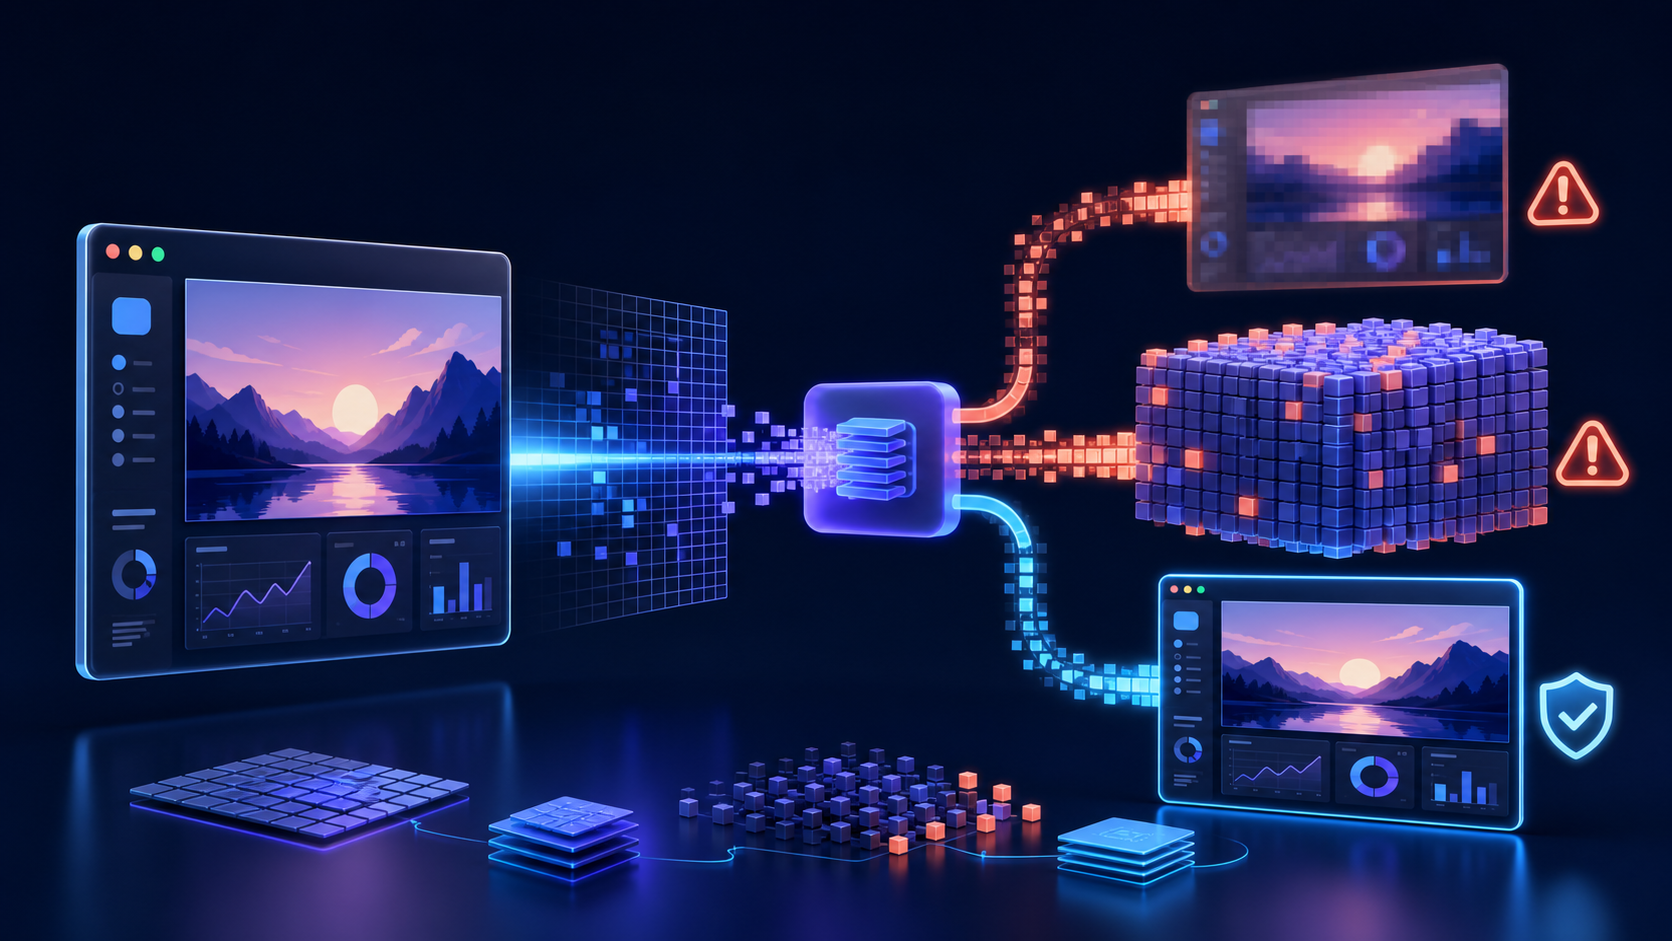
A screenshot is a grid of pixels captured at one particular size. It stays sharp when those pixels map cleanly to the display. It becomes blurry when software stretches too few pixels, resamples the image poorly, or applies lossy compression around text and fine interface edges. It becomes unnecessarily large when it captures more pixels, colour information, or metadata than the final use requires.
The best solution is to prepare a delivery copy: crop to the relevant area, resize for the real destination, choose a format suited to interface graphics, and inspect the exported result before sharing.
Why a screenshot can contain more pixels than expected
Modern high-density displays use multiple hardware pixels to represent what the interface treats as one logical point. A window that appears 1200 points wide may produce a screenshot much wider in pixel dimensions. This extra resolution helps the image look crisp on the original screen, but it can create a large file and confusing behaviour in software that ignores display density.
File size and visual size are therefore different. A screenshot can appear modest on a page while containing millions of pixels. Before sharing it, check both the pixel dimensions and the size at which it will actually be displayed.
Scaling is where sharp edges often disappear
Interface screenshots contain high-contrast boundaries: dark text on a light background, one-pixel dividers, icons, and small controls. When an application scales the image to a non-integer percentage, the new pixel grid no longer aligns neatly with the old one. Resampling blends neighbouring pixels to estimate new values, which makes fine lines and text appear soft.
Upscaling is especially risky because it cannot recover detail that was never captured. Software can interpolate new pixels, but it cannot reconstruct the original letter shapes with certainty. If the destination needs a larger image, capture the interface at a larger size instead of enlarging a small screenshot afterward.
Messaging apps may quietly recompress the image
Many communication platforms optimize images to reduce bandwidth and storage. They may resize large uploads, convert PNG files to a lossy format, strip metadata, or lower compression quality. This is often acceptable for photographs, but screenshots expose the damage because sharp text produces visible halos, blocks, and colour noise.
If exact clarity matters, use the platform’s document or file-attachment option rather than its photo-sharing mode. Sending the original file prevents some automatic image treatment, although the recipient still needs compatible software and enough display resolution.
PNG, JPG, or WebP for screenshots?
PNG for sharp interface detail
PNG uses lossless compression, so the decoded pixels remain exact. It usually works well for text, diagrams, software interfaces, flat colours, and transparency. Its weakness is size: screenshots containing photographs, gradients, or noisy backgrounds can produce large PNG files.
JPG for photographic content
JPG can make a screenshot containing a large photograph much smaller, but its lossy block-based compression is poorly matched to tiny text and crisp edges. Repeated JPG saving makes the artifacts accumulate. Avoid JPG when the main purpose of the screenshot is reading an interface or error message.
WebP for flexible web delivery
WebP supports both lossy and lossless compression. A lossless WebP can preserve sharp screenshot pixels while reducing size efficiently in many cases. A carefully chosen lossy setting can work for mixed photographic content, but the text areas still need visual inspection.
The OpenToolkit Image Converter can resize, compress, and convert PNG, JPG, and WebP images directly in your browser. Keep the original screenshot and create a separate version for the destination.
Crop before you compress
A screenshot often includes more than the reader needs: browser tabs, an empty desktop, unrelated messages, account details, or large margins. Cropping removes pixels without reducing the quality of the useful area. It can produce a larger saving than aggressive compression while also directing attention to the actual problem.
Use the OpenToolkit Image Editor when you need to crop, annotate, obscure irrelevant areas, or make a more deliberate visual explanation. Keep annotations large enough to remain legible after the final image is resized.
Do not solve privacy problems with blur alone
Screenshots can expose names, email addresses, notification previews, internal URLs, account balances, or browser extensions. A faint blur or translucent shape may leave text partially readable, especially when the recipient can zoom in. Remove or cover sensitive pixels completely in the exported image.
Other images captured by phones and cameras may also contain EXIF metadata such as location and device details. The OpenToolkit Image Privacy Cleaner creates a copy without common EXIF, camera, and GPS metadata. Screenshots often contain less camera metadata, but visible private information remains the larger risk and must be reviewed separately.
Why screenshots look unreadable in documents
A document editor may fit a wide screenshot inside a narrow page. The screenshot still contains the original pixels, but all of its interface text is displayed at a tiny physical size. Enlarging the page later may reveal the detail, yet the normal reading view remains uncomfortable.
Instead of shrinking an entire application window, crop the important panel or divide a workflow into two screenshots. Add a short caption explaining what the reader should notice. A focused image at a readable size is more useful than a complete screen that requires zooming.
A practical screenshot-sharing workflow
Capture at the right scale. Make the important text comfortably readable before taking the screenshot.
Remove distractions. Crop empty space, unrelated windows, and unnecessary interface chrome.
Check private information. Permanently remove sensitive visible content and clean metadata when relevant.
Choose the format. Prefer lossless PNG or WebP for text-heavy interfaces; use JPG cautiously for photographic content.
Resize once. Export close to the pixel dimensions required by the destination instead of relying on repeated automatic scaling.
Use file-sharing mode when clarity matters. Avoid photo modes that may silently recompress the image.
Test the actual result. Download or reopen the shared copy and inspect its smallest text at the size the recipient will see.
How small should the file be?
There is no universal target. A short support message needs a different image from a product manual or a full-width website illustration. Start with the maximum display width, then choose the smallest file that remains clear in that context.
Do not optimize only by watching the file-size number. A tiny file that hides an error message has failed its purpose. Likewise, a 10 MB screenshot displayed as a small card wastes time and bandwidth without improving what the reader can see.
The bottom line
Screenshots become blurry when pixel grids are stretched, resampled, or damaged by lossy compression. They become huge when high-density captures, unnecessary areas, and unsuitable formats preserve more data than the destination can use. They become unreadable when an entire screen is squeezed into a space designed for a focused detail.
Capture clearly, crop deliberately, protect private information, export once for the real destination, and test the shared copy. The best screenshot is not the largest or the most compressed—it is the smallest version that still communicates the intended detail without exposing anything else.